
Advanced Veeam NAS Backup
UPDATE 25th July 2020:
Added a new variant “Invoke-NASVolumeBackup.ps1” to Github Repository, which is using the volume name instead of the share name. This allows to use this script no matter what protocol is enabled inside of the SVM.
Original Post:
Actually Veeam Software released an SE-driven Beta for Veeam Backup & Replication v10. Some of you maybe now that before I joined Veeam I worked at Anders & Rodewyk and Bechtle and at both employers one of my main working areas was NetApp. Installing, maintaining and everything else what I can do in the NetApp Universe.
Today I want you to show what is possible with the already shown NAS feature from VeeamON this year especially with the alternative data path option in Veeam Backup & Replication. If you have not seen the technical keynote you find it here: https://www.veeam.com/veeamon (scroll down a bit).

In my small homelab I’ve installed Veeam Backup & Replication v10 Beta 1 and I had already an older NetApp Simulator Ontap 9.4 what was enough for my tests. I’ve one SVM for CIFS which has two volumes “vol_cifs” and “vol_cifs_vault” where I created an SnapVault relationship between both volumes.
In the INVENTORY pane of Veeam Backup & Replication you will find a new menu entry called “File Shares”. You have the option here to add SMB file shares, NFS file shares or an managed windows server (e.g. a classic file server), which all later can be used in a File Backup Job.
I added the file share \\192.168.1.222\vol_cifs to my Veeam Backup & Replication and configured the advanced option where I told it to use another path as backup source. This path is a snapshot I’ve replicated via script from primary volume to secondary volume. I will show the script in a later section of this post.
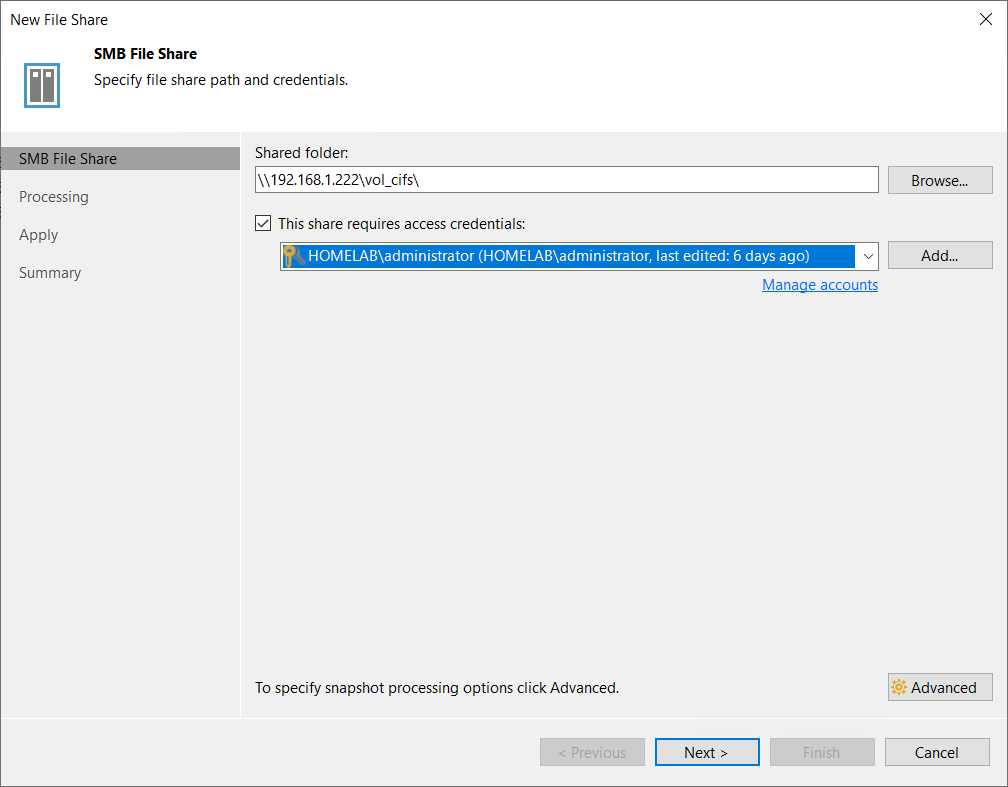
Adding the share and setting credentials for accessing this share. 
Using another backup path. In this case an replicated snapshot to another volume. 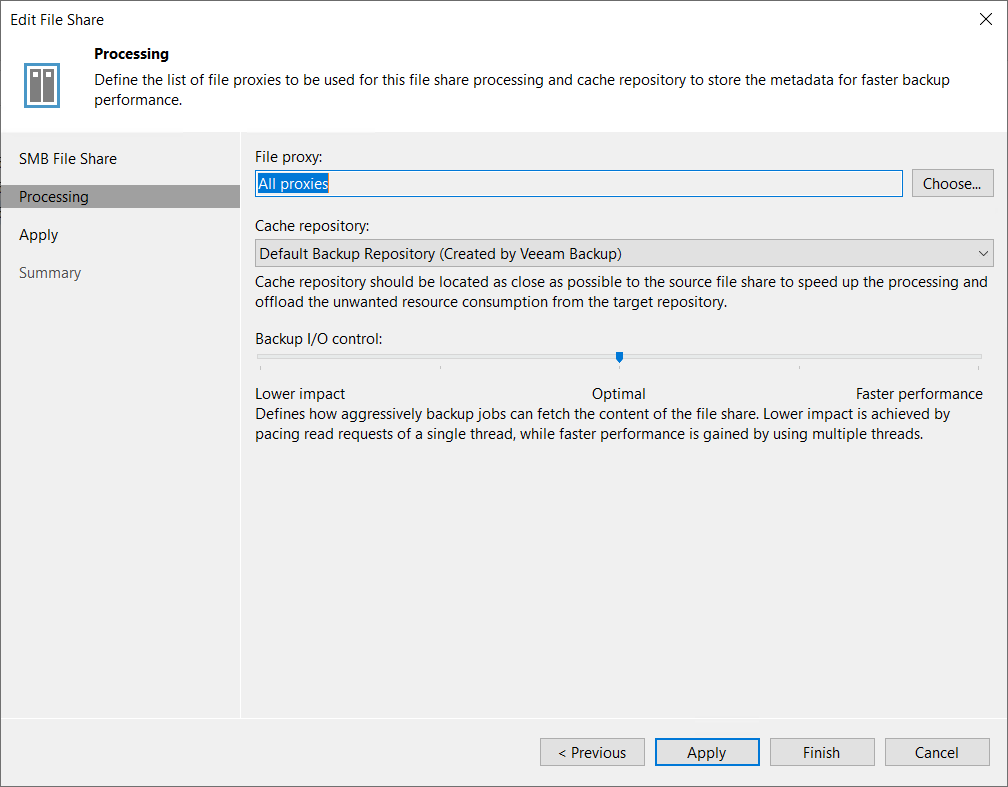
Here you can set which file proxys will backup the share and which repository should be used for caching metadata.
So now started the complex part of this “project” which was only planed as a Proof of Concept for our annual SE training of our SE teams from Austria, Swiss and Germany but it looked so good that I want to share it with the rest of the world.
I downloaded the NetApp PowerShell Toolkit 9.6 and installed it on my Veeam Backup & Replication Server, restarted the Veeam Backup Service to allow usage of Powershell Module and started to write a “small” script which went bigger and bigger. What does this script do?
First of all it loads the saved credentials for accessing the source and destination clusters and then connect to this systems. In this blog post I will explain how I have saved the credentials and why I have done it in this way.
IMPORTANT for this post is that the credentials must be saved within the same context as the Veeam Backup Service is running in. This is by default the “Local System” account. If script works later manually started but not in the job it’s obviously this problem.
I created in first step two scripts but now I created a unified version where you are able to set via switches the behavior of this script. Behavior is to update SnapMirror/Snapvault or not.
If you want to backup from the source storage system you need to use this script paramaters to call the script in Pre-Job script settings of the job.
Invoke-NASBackup.ps1 -PrimaryCluster 192.168.1.220 -PrimarySVM "lab-netapp94-svm1" -PrimaryShare "vol_cifs" -PrimaryClusterCredentials "C:\scripts\saved_credentials_Administrator.xml"
If you want to backup from an SnapVault/SnapMirror Destination you need to use this script paramaters to call the script in Pre-Job script settings of the job.
Invoke-NASBackup.ps1 -PrimaryCluster 192.168.1.220 -PrimarySVM "lab-netapp94-svm1" -PrimaryShare "vol_cifs" -PrimaryClusterCredentials "C:\scripts\saved_credentials_Administrator.xml" -UseSecondaryDestination -SecondaryCluster 192.168.1.240 -SecondarySVM "lab-netapp94-svm2" -SecondaryShare "vol_cifs_vault" -SecondaryCredentials "C:\scripts\saved_credentials_Administrator.xml"
Script Download Location:
https://github.com/VeeamHub/powershell/tree/master/BR-NASBackup4NetApp
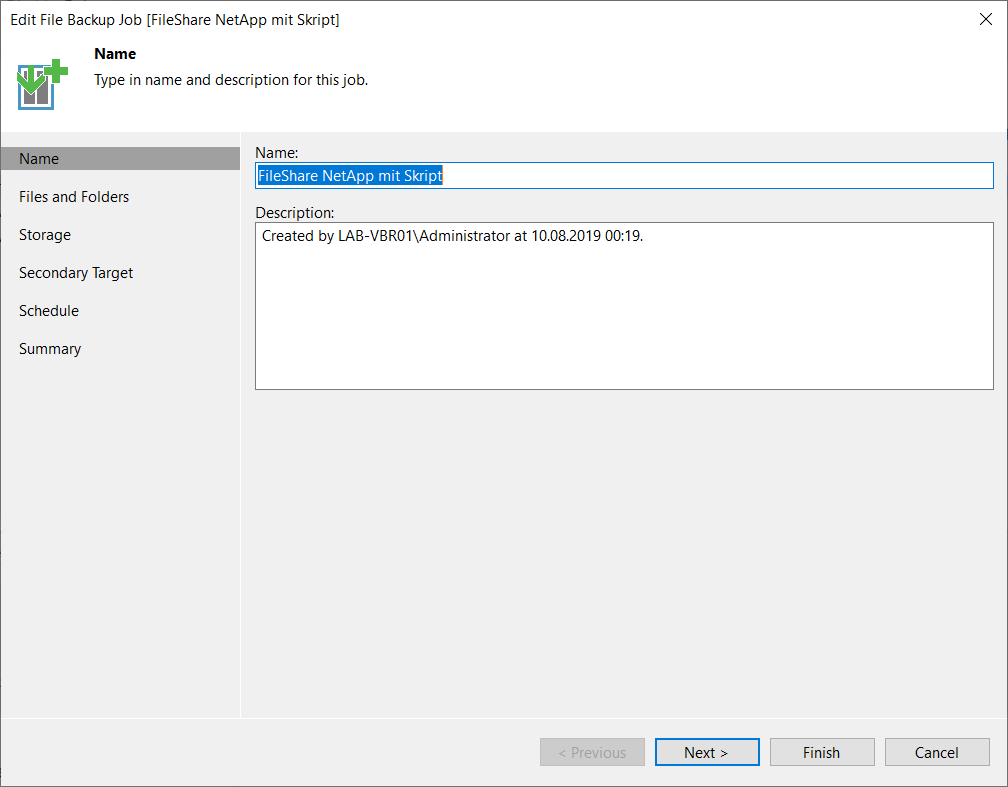
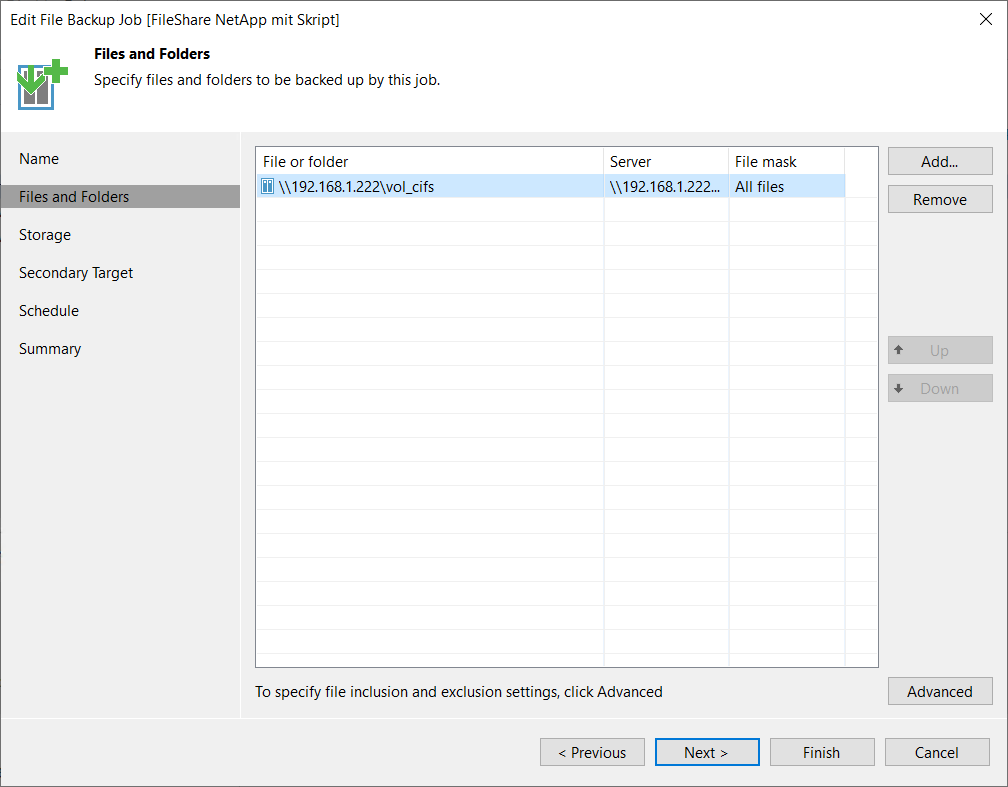
Now we need to add the File Backup Job and add this script as a Pre-Job script.

In Storage section there is a button called “Advanced”. When clicked it opens a new windows and there is a new tab called “Scripts”. Here we add the link to the powershell script and add the parameters seen in the code block above. Close window with OK and continue to creating this job.

Thanks for reading this small blog post about using Pre-Job script to create an alternative data path for using it as source for an Veeam NAS Backup Job. This example can of cause also be used for creating a stripped down version for processing only on the source or even creating the same with another storage system. Yesterday a coworker was asking for EMC Unity snapshots and it looks like it quite easy to change this code to another storage vendor.


